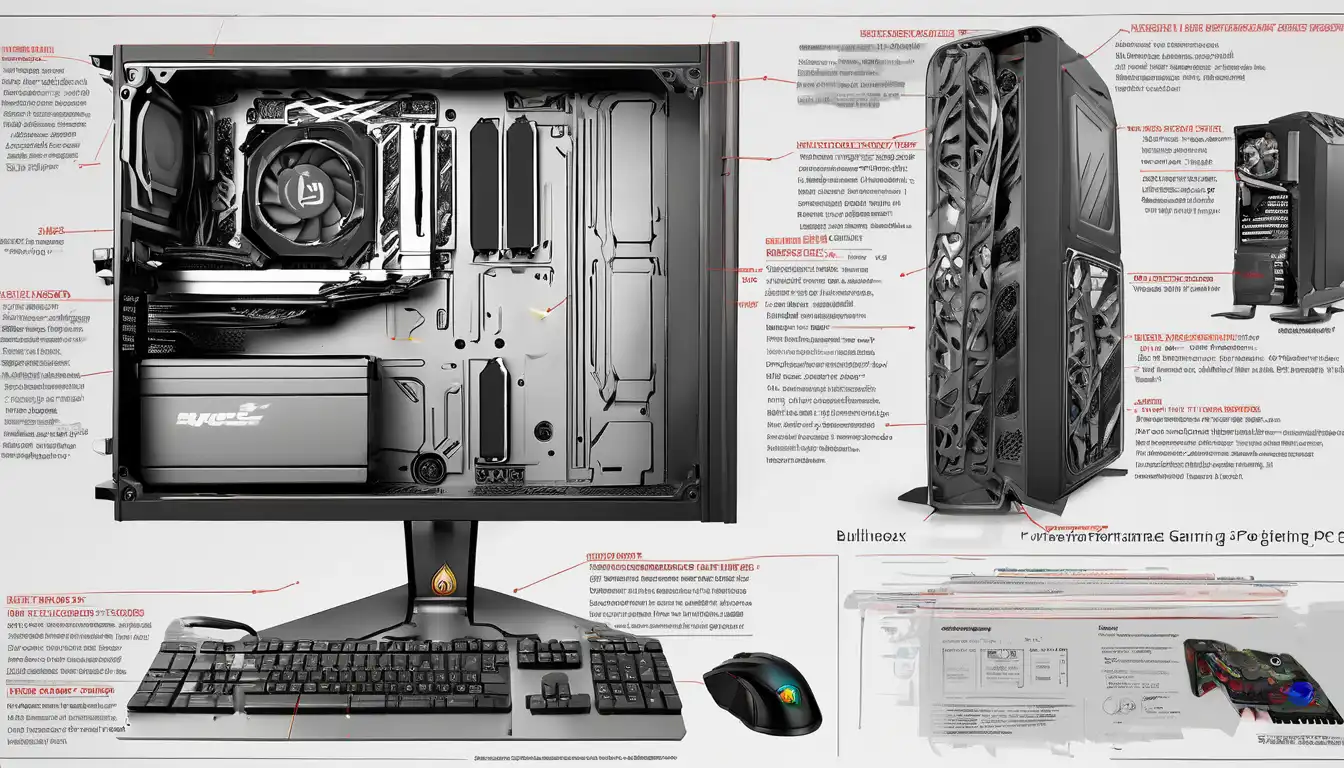
Introduction to High-Performance Gaming PC Assembly
Building a high-performance gaming PC is an exciting journey that combines technical knowledge with creative expression. Whether you're a competitive esports enthusiast or a casual gamer seeking immersive experiences, assembling your own gaming rig offers unparalleled customization and value. This comprehensive guide will walk you through every step of creating a powerful gaming machine that delivers exceptional performance across all your favorite titles.
Essential Components for Your Gaming Build
Understanding the core components is crucial before beginning your build. Each part plays a vital role in determining your system's overall performance and capabilities.
Central Processing Unit (CPU)
The CPU serves as the brain of your gaming PC, handling game logic, physics calculations, and AI processing. For modern gaming, we recommend processors from Intel's Core i7/i9 series or AMD's Ryzen 7/9 series. Consider factors like core count, clock speed, and thermal design power when selecting your CPU. Higher core counts benefit multitasking and streaming, while faster clock speeds improve gaming performance.
Graphics Processing Unit (GPU)
Your graphics card is arguably the most important component for gaming performance. NVIDIA's RTX 40-series and AMD's RX 7000-series offer excellent options for high-end builds. Look for cards with ample VRAM (8GB minimum, 12GB+ recommended) and robust cooling solutions. The GPU directly impacts your gaming resolution, frame rates, and visual quality settings.
Motherboard Selection
Choose a motherboard that matches your CPU socket type and offers the features you need. Key considerations include:
- VRM quality for stable power delivery
- Sufficient PCIe slots for expansion cards
- Multiple M.2 slots for fast storage
- Robust cooling solutions
- Quality audio codecs
Memory (RAM) Requirements
Modern gaming benefits significantly from 16GB of DDR4 or DDR5 RAM, though 32GB provides better future-proofing. Opt for dual-channel configurations and higher speeds (3200MHz+) for optimal performance. Low-latency RAM can provide slight improvements in frame rates and loading times.
Storage Solutions
Combine fast NVMe SSDs for your operating system and games with larger SATA SSDs or HDDs for media storage. A 1TB NVMe SSD provides ample space for your most-played games while ensuring lightning-fast load times.
Building Process Step by Step
Preparation and Safety
Begin by gathering all necessary tools: Phillips head screwdrivers, anti-static wrist strap, cable ties, and thermal paste. Work in a clean, well-lit area and ground yourself frequently to prevent electrostatic discharge damage to components.
Motherboard Installation
Install your CPU, RAM, and M.2 drives onto the motherboard before placing it in the case. Apply thermal paste carefully if not pre-applied to your cooler. Secure the motherboard using standoffs and the provided screws, ensuring no metal contacts touch the case directly.
Power Supply Setup
Install your power supply unit (PSU) according to your case's design. Modular PSUs help with cable management. Ensure you have adequate wattage for your components—750W-850W suits most high-end builds. Route cables neatly to maintain optimal airflow.
Cooling System Installation
Proper cooling is essential for maintaining performance. Air coolers offer reliability, while liquid cooling provides superior thermal performance for overclocking. Install case fans in a balanced configuration, typically intake at the front/bottom and exhaust at the rear/top.
Cable Management
Neat cable routing improves airflow and makes future upgrades easier. Use Velcro straps or zip ties to bundle cables together. Route cables behind the motherboard tray when possible, and ensure no cables obstruct fan movement.
Performance Optimization Techniques
BIOS Configuration
Access your BIOS/UEFI to enable XMP/DOCP profiles for RAM, adjust fan curves, and ensure all components are detected properly. Update to the latest BIOS version for improved stability and compatibility.
Operating System Optimization
Install a clean version of Windows 11 or your preferred operating system. Disable unnecessary startup programs, optimize power settings for performance, and keep drivers updated using tools like NVIDIA GeForce Experience or AMD Adrenalin Software.
Game-Specific Settings
Adjust in-game graphics settings based on your monitor's resolution and refresh rate. Enable features like DLSS or FSR when available for better performance. Monitor your temperatures and usage statistics using MSI Afterburner or similar tools.
Maintenance and Upkeep
Regular maintenance ensures your gaming PC continues performing at its best. Dust your components every 3-6 months using compressed air. Monitor temperatures during gaming sessions and replace thermal paste annually if temperatures rise significantly. Keep your system updated with the latest drivers and security patches.
Future-Proofing Considerations
When building your PC, consider future upgrade paths. Choose a case with ample space for larger components, a motherboard with extra PCIe slots, and a power supply with headroom for more powerful hardware. Investing in quality components initially can extend your system's relevance for years.
Conclusion
Building a high-performance gaming PC is a rewarding experience that results in a machine tailored to your specific needs and preferences. By carefully selecting components, following proper assembly techniques, and optimizing your system, you'll create a gaming rig that delivers exceptional performance across all your favorite titles. Remember that the PC building community offers extensive resources and support, so don't hesitate to seek advice when needed.
For more detailed information on specific components, check out our gaming CPU selection guide and graphics card comparison chart. Happy building!
